Add GPS Location to Photo: Pro Field Guide
Learn how to add GPS location to a photo correctly. Get precise coordinates with GpsField, then embed them on iPhone, Android, Mac/Windows, or via exiftool.
GpsField
Field GIS Specialist · 8 min read
Add GPS Location to Photo: Pro Field Guide
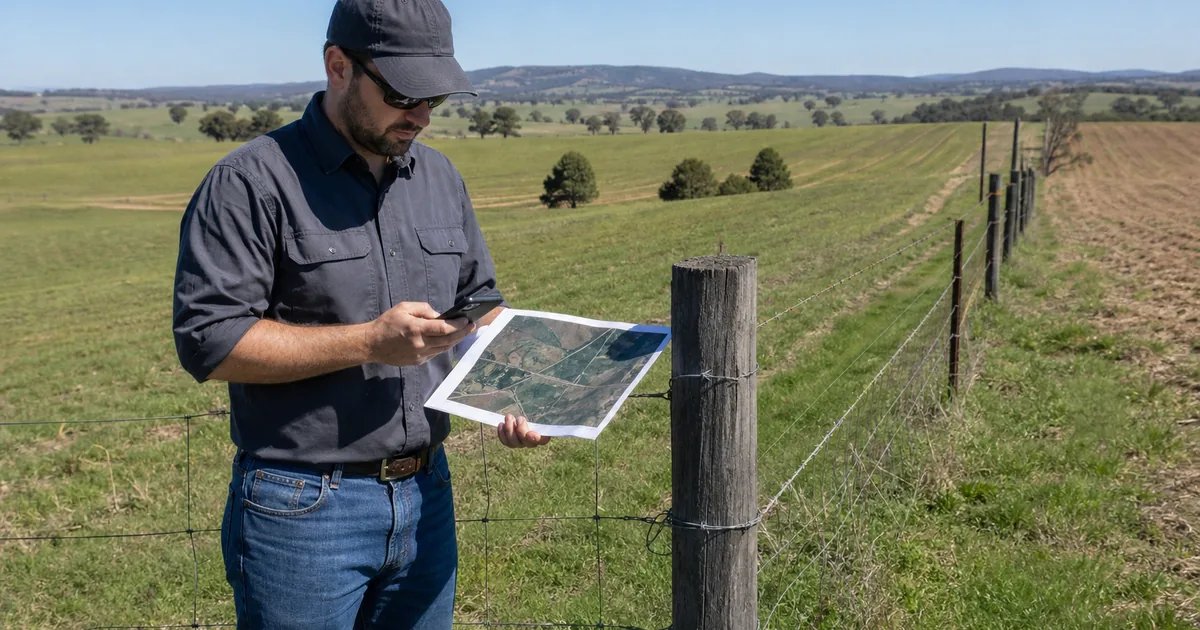
If you need to add GPS location to a photo for field documentation, the quickest, reliable workflow is: get the exact coordinates in GpsField, convert them to decimal latitude/longitude if needed, embed them on your device (Apple Photos or Google Photos) or with exiftool for batches, then verify. This keeps your photo clean (coordinates live in EXIF metadata) and repeatable for farms, surveys, construction, real estate, or logistics.
Why geotag photos in field work
- Tie photos to exact locations for crop scouting, asset inventory, punch lists, property marketing, and as-builts.
- Putting coordinates into photo metadata (EXIF) keeps the image uncluttered and machine-readable for GIS, reports, and asset systems. On-image text is fine for quick sharing, but it’s not searchable or reliable.
- Accuracy reality check: a geotag is only as accurate as your capture method and environment—open sky is better; buildings/trees degrade smartphone GPS; tracing on satellite imagery depends on image alignment and how carefully you place the point.
Fast workflow: get precise coordinates in GpsField, then embed them
- Workflow Step 1 — Get coordinates on the map (overview): open the map, drop a point where the photo was taken, copy Lat/Long.
- Workflow Step 2 — Convert/format (overview): if your notes are in UTM/MGRS/DMS, convert to decimal Latitude/Longitude for EXIF.
- Workflow Step 3 — Add the GPS to the photo: use iPhone/Android/Apple Photos for singles, or exiftool for batch.
- Workflow Step 4 — Verify: reopen the file’s EXIF and cross-check on a map so your point lands exactly where you intend.
Step 1: Get coordinates on the map (GpsField)
Open the GpsField map and drop a point exactly where the photo was taken. If you’re in the field, align the marker over a repeatable visible feature like a gatepost, hydrant, culvert, plot corner, or pole base so another person can re-find it later.
- Use the free map workspace in point mode: Free map workspace (drop a point, copy Lat/Long)
- To quality-check your live reading before capture, use the GPS Accuracy Test to see reported precision and HDOP.
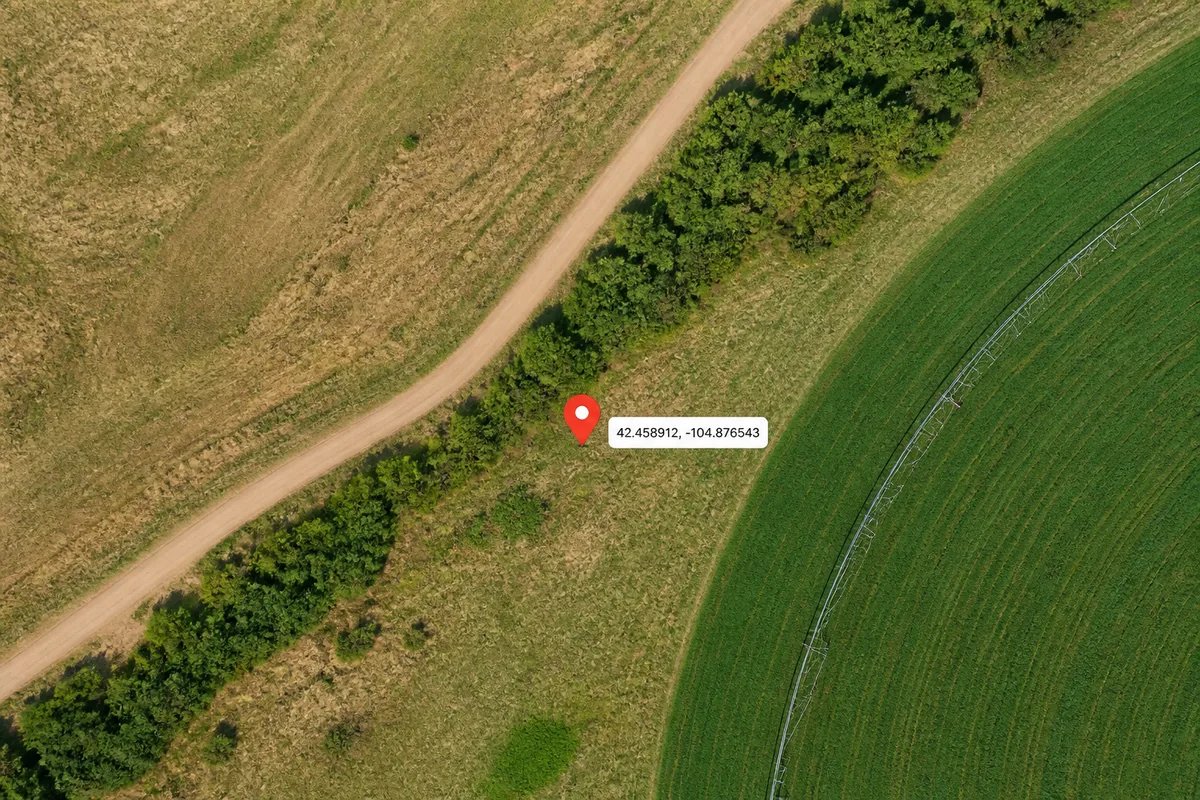
Exact clicks to copy coordinates:
- Go to the free map workspace (POI mode). Drop a marker. Copy the Latitude, Longitude that appear in the panel.
- Need an address first? Use Address → Coordinates. Need the nearest address to a point? Use Reverse Geocode.
- Working in UTM or MGRS in the field? Convert those to decimal Lat/Long for EXIF with UTM ↔ Lat/Long or MGRS Grid Converter.
Step 2: Convert or format coordinates (if your spec demands it)
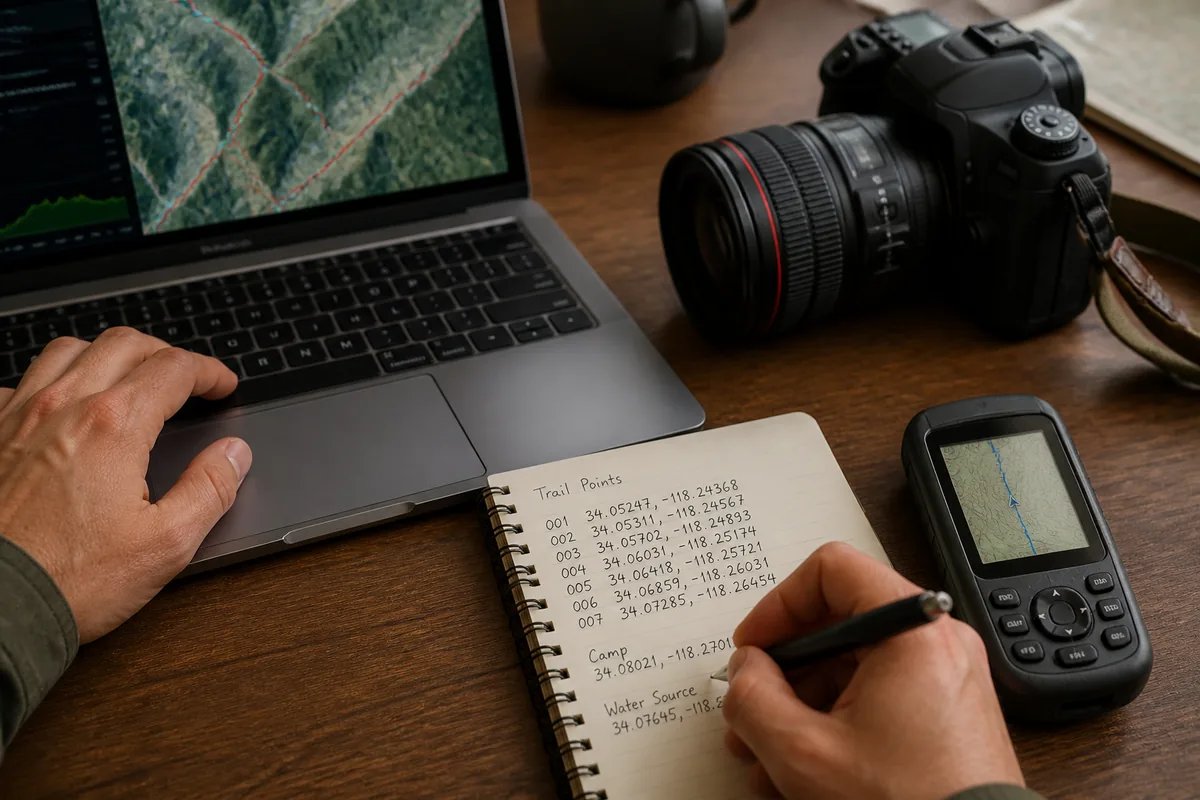
EXIF expects decimal degrees Latitude and Longitude. If your notebook or device logged DMS (degrees‑minutes‑seconds), UTM, or MGRS, convert them first:
- DMS ↔ Decimal: DMS ↔ Decimal Degrees
- UTM ↔ Lat/Long: UTM ↔ Lat/Long
- MGRS: MGRS Grid Converter
If you work in a non‑WGS‑84 projection for engineering or national mapping, reproject to WGS‑84 decimal Lat/Long before embedding, since that’s what most photo viewers and GIS expect for EXIF.
Examples:
- UTM 33N 500,230 m E, 4,640,900 m N → 41.932233°, 12.504845°
- MGRS 33T UF 00230 40900 → 41.932233°, 12.504845°
- DMS 41°55'56.04"N 12°30'17.44"E → 41.932233°, 12.504845°
Quick DMS-to-decimal check: decimal = degrees + minutes/60 + seconds/3600.
For 41°55'56.04": 41 + 55/60 + 56.04/3600 = 41 + 0.9166667 + 0.0155667 ≈ 41.9322334.
Step 3: Add GPS location to a photo on each platform
Choose a method that fits your device and volume of images. Local editing avoids uploading sensitive images.
iPhone/iPad (Photos app, iOS 15+):
- Open the photo → tap the info (i) button → Adjust Location.
- Paste your decimal Lat, Long or search a place → Done.
Android (Google Photos app):
- Open the photo → swipe up or tap three dots → Edit location.
- Paste Lat, Long or pick a place → Save.
Mac (Apple Photos):
- Open the photo in Apple Photos → Image menu → Location → Assign a Location.
- Search a place or paste decimal Lat, Long → press Return to apply.
Windows/macOS (Batch, exiftool):
- Single photo: exiftool -GPSLatitude=41.932233 -GPSLatitudeRef=N -GPSLongitude=12.504845 -GPSLongitudeRef=E image.jpg
- Batch by timestamp matching to a GPX log: exiftool -geotag track.gpx -geosync=+00:00 IMG_*.JPG
- Write altitude if known (0 = above sea level): exiftool -GPSAltitude=152.4 -GPSAltitudeRef=0 image.jpg
Exiftool reference: https://exiftool.org/
Online editors (caution):
If you must add GPS coordinates to photos online, avoid sensitive images, confirm the site preserves full resolution and EXIF, and always download and re-check the metadata after editing.
Step 4: Verify your geotag
- Reopen the file and check EXIF GPS fields in your editor or with exiftool: exiftool -GPS*:all image.jpg
- Many viewers show a mini map—confirm the pin lands where intended.
- Cross-check the numbers in the GPS Coordinates Finder to ensure the map preview matches your field point.
- For field trust, keep a screenshot of your GpsField point and note the capture method (handheld GPS, phone GPS, or imagery trace). For disputes or legal boundaries, use a licensed land surveyor.
Worked examples for your jobs
- Agronomy: You photographed leaf damage at 18.497562, 73.812345. Batch tag 30 scouting photos with exiftool using a GPX recorded on your walk, then export to your GIS with a shapefile or GeoJSON layer.
- Survey: A benchmark was noted as UTM 44N 294,210 E, 3,003,980 N. Convert to 27.112345, 78.961234, embed with exiftool, and archive with your control notes.
- Construction: A trench at chainage 1+250 measures to 35.123411, -97.521002 from GpsField. Add to the photo EXIF and reference it in your as-built log.
- Real estate: Tag exterior and lot-corner photos at 40.741010, -73.989700. Use Reverse Geocode to confirm the street address in your listing notes.
How to add GPS location to old photos (no original geotag)
- Use field notes, timestamps, or visible landmarks in the image to re-find the spot on the map.
- Drop a marker in the free map workspace, copy the precise Lat/Long, and embed with your preferred method above.
- If you logged a GPX that day, align photos by time with: exiftool -geotag track.gpx -geosync=+HH:MM DCIM/*.JPG
Accuracy tips and pitfalls
- Open sky beats trees, buildings, and vehicles. Let your phone GPS settle for a few seconds before reading coordinates.
- Use the GPS Accuracy Test to inspect reported precision and HDOP before committing coordinates to photos.
- Satellite imagery can be offset in some regions; when precision matters, verify against known survey control.
- For legal boundary evidence or construction setting-out, hire a licensed land surveyor; EXIF geotags are not legal boundaries.
Add GPS coordinates to photos online: safe options
- Prefer local methods (Photos, exiftool) to avoid uploads. If you must edit online, strip personal data you don’t need and test a single image first.
- Always download and re-check EXIF after any web-based edit.
- Use GpsField to obtain and verify accurate coordinates; it does not alter your photo files in the browser.
Reference: which EXIF GPS fields matter
- GPSLatitude and GPSLatitudeRef (N or S)
- GPSLongitude and GPSLongitudeRef (E or W)
- Optional: GPSAltitude (+ GPSAltitudeRef), GPSTimeStamp, GPSImgDirection (bearing), GPSMapDatum (use WGS‑84 when possible)
- Keep coordinates in decimal degrees to minimize parsing issues across software.
Next: organize your geotagged field photos with map context
- Save locations and boundaries by project in the GpsField workspace, and include the photo ID (e.g., IMG_1234) in your point name or notes so images and map features stay linked.
- For sites with boundaries, generate a shareable boundary link alongside your photos using Land Plot Share. Add that link to your report, work order, or listing so anyone can open the exact area on a live map.
- Keep a simple index: a spreadsheet or note with columns for Photo ID, Lat/Long, date/time, feature name, and a GpsField map link. This makes audits and handovers fast and reliable.
Frequently asked questions
How do I add GPS coordinates to photos on iPhone without an app?
Use the built-in Photos app. Open the image, tap the info (i) button, choose Adjust Location, and paste your decimal latitude and longitude. This writes standard EXIF GPS fields and keeps the image free of on-photo text.
Can I add GPS location to a photo online for free without losing quality?
Possibly, but verify carefully. Some online tools recompress images or strip EXIF. Always test with one file, confirm resolution and metadata after download, and avoid uploading sensitive site photos. GpsField can supply and verify coordinates; it does not modify your photos.
How do I batch add GPS to thousands of images from a GPX track?
Use exiftool with a GPX and timestamp alignment. Example: exiftool -geotag track.gpx -geosync=+00:00 IMG_*.JPG. Ensure camera time matches GPX time (apply -geosync offset if needed) and spot-check a few images against your map.
What coordinate format should I use when adding GPS to photo EXIF?
Use decimal degrees Latitude and Longitude in WGS‑84 (e.g., 35.123411, -97.521002). If your notes are in DMS, UTM, or MGRS, convert them first using GpsField’s coordinate tools, then embed the decimal values.
Wrap up your workflow by getting and verifying coordinates with GpsField’s Location and field utilities. It takes minutes, and your photos will carry coordinates your team can trust.
Tags & Topics